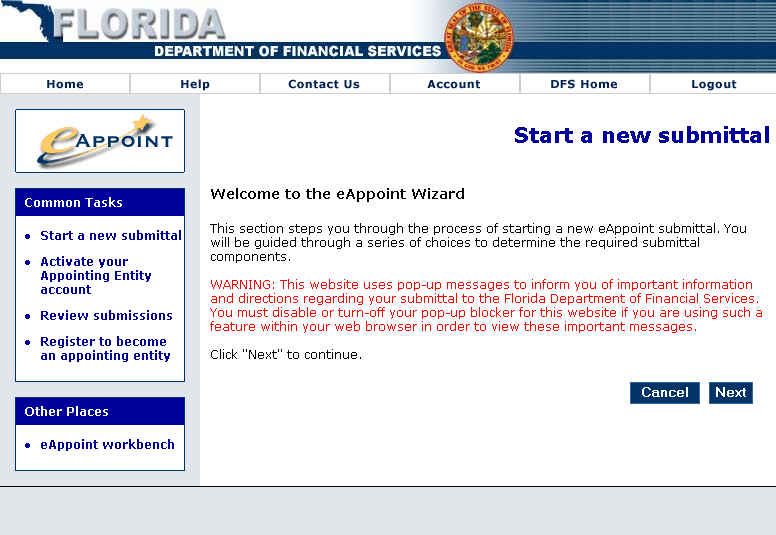
Accessing the Start a New Submittal ScreenTo access the Start a New Submittal Screen, shown below, click on the start a new submittal hyperlink listed in the Common Tasks menu on the eAppoint homepage. The Start a New Submittal Screen includes the eAppoint Wizard which will help instruct you on creating your new submittal.
| ||||||||||||
|
| ||||||||||||
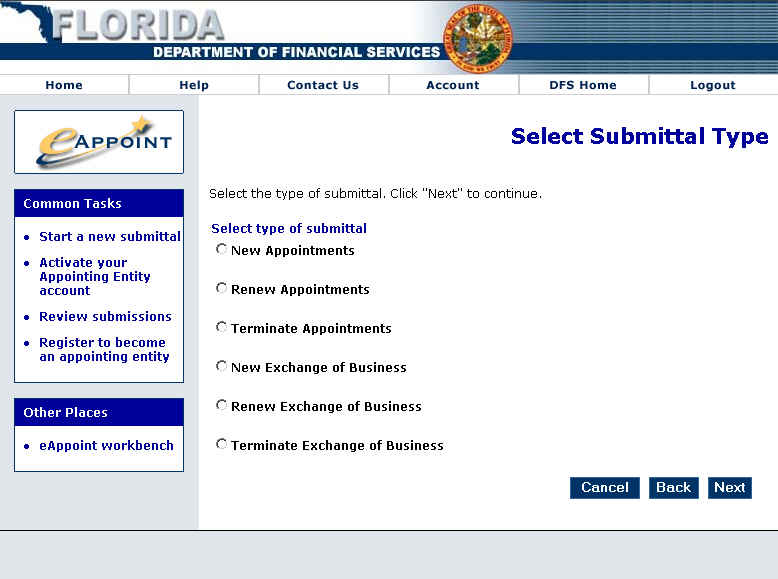
Selecting the Type of SubmittaleAppoint provides this screen for you to select the type of submittal you would like to create. To select a submittal type, click within the circle to the left of the submittal type. You will need to create a separate submission for each type.
| ||||||||||||
|
| ||||||||||||
New AppointmentsIf you select "New Appointments", eAppoint creates the submittal and displays the screen shown below. Using the fields provided, you should create a name and a password for the submittal you have just begun.
| ||||||||||||
|
| ||||||||||||
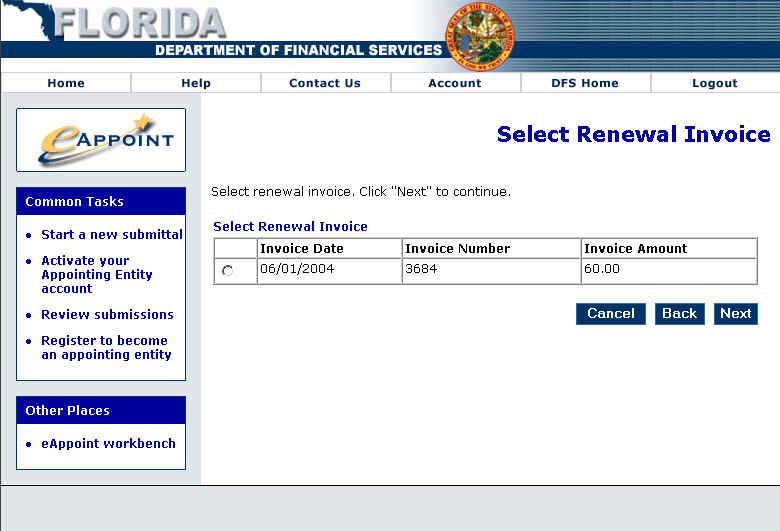
Appointment RenewalsIf you select "Appointment Renewals", eAppoint displays the screen shown below for you to select a Renewal Invoice. eAppoint will list any unpaid Renewal Invoices. To select an invoice, click within the circle corresponding to the Renewal Invoice.
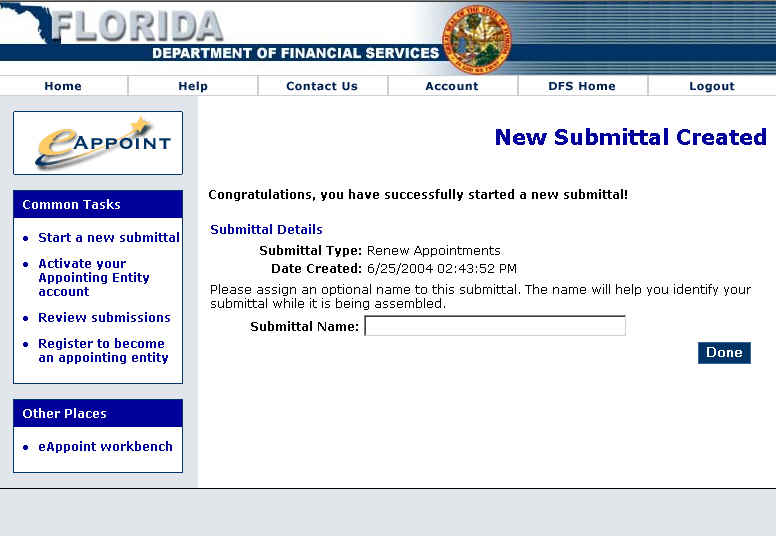
Upon clicking Next, eAppoint creates the submittal and displays the screen shown below. Using the fields provided, you should create a name and a password for the submittal you have just begun.
| ||||||||||||
|
| ||||||||||||
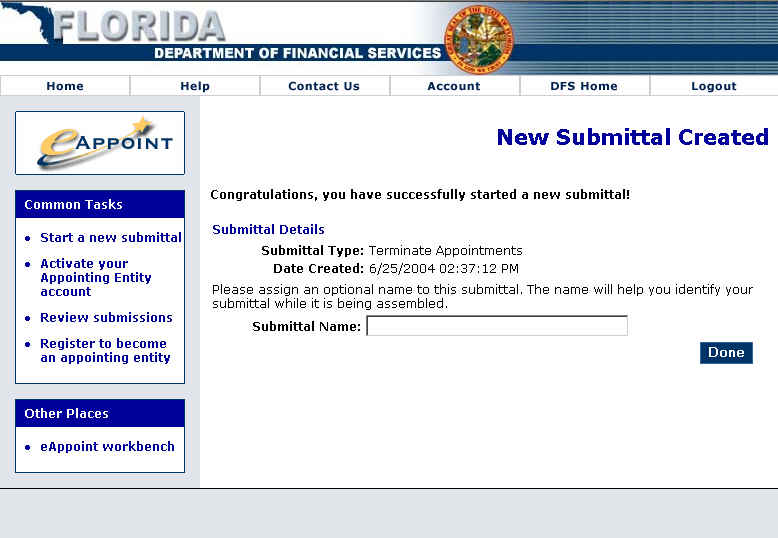
Appointment TerminationsIf you select "Appointment Terminations", eAppoint creates the submittal and displays the screen shown below. Using the fields provided, you should create a name and a password for the submittal you have just begun.
| ||||||||||||
|
| ||||||||||||
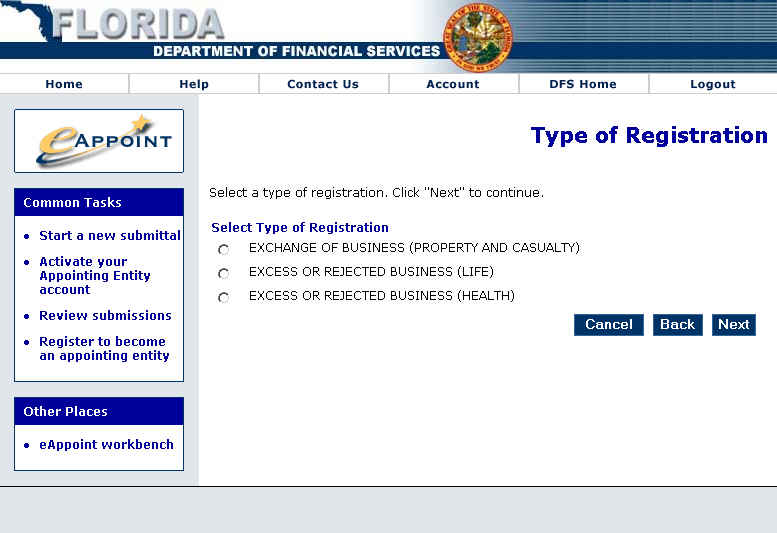
New Exchanges of BusinessIf you select "New Exchanges of Business", eAppoint displays the screen shown below. You must select the Type of Registration before eAppoint will create the submittal. To select a registration type, click within the circle to the left of the item.
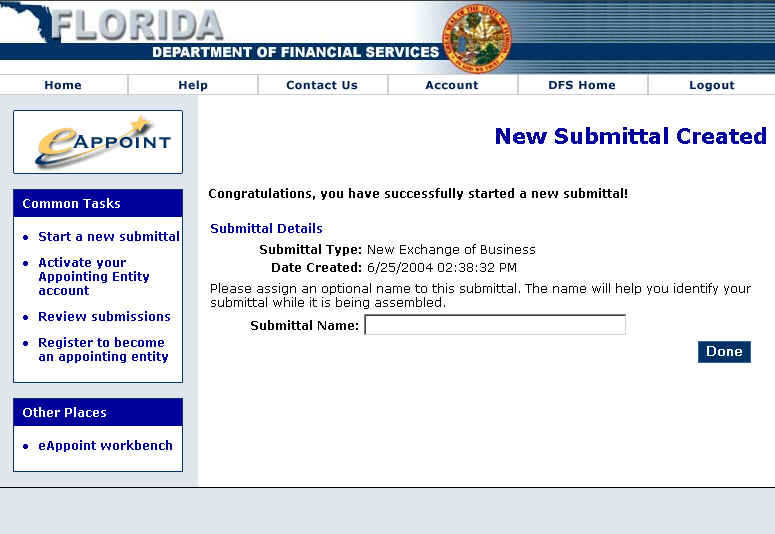
Upon clicking Next eAppoint creates the submittal and displays the screen shown below. Using the fields provided, you should create a name and a password for the submittal you have just begun.
| ||||||||||||
|
| ||||||||||||
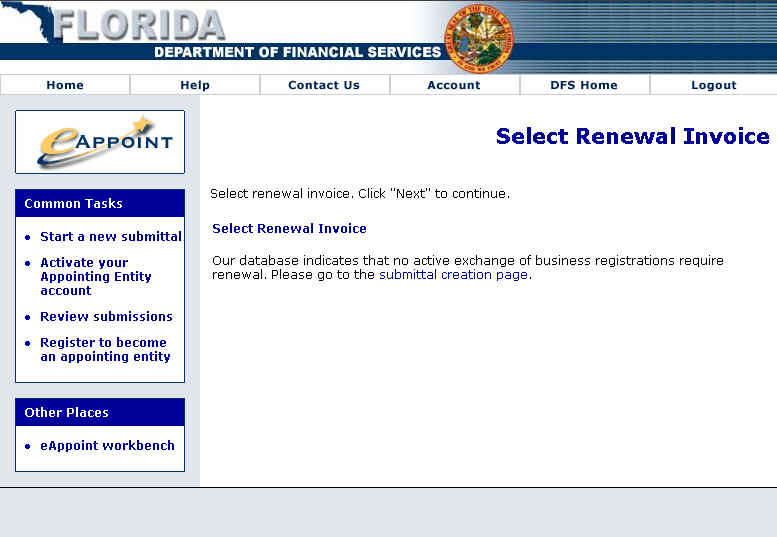
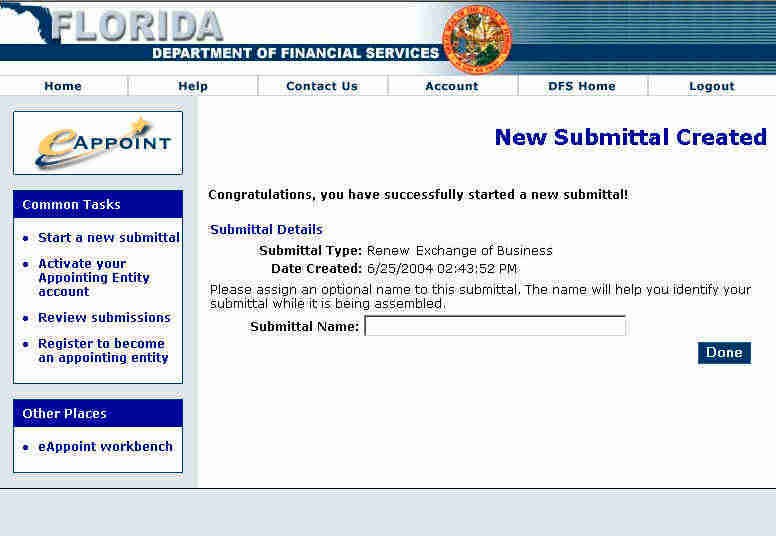
Exchange of Business RenewalsIf you select "Exchange of Business Renewals", eAppoint displays a screen, similar to the Select Appointment Renewal Invoice, for you to select a Renewal Invoice. eAppoint will list any unpaid Renewal Invoices. To select an invoice, click within the circle corresponding to the Renewal Invoice. If no invoices are awaiting payment, the below screen will display.
Upon clicking Next, eAppoint creates the submittal and displays the screen shown below. Using the fields provided, you should create a name and a password for the submittal you have just begun.
| ||||||||||||
|
| ||||||||||||
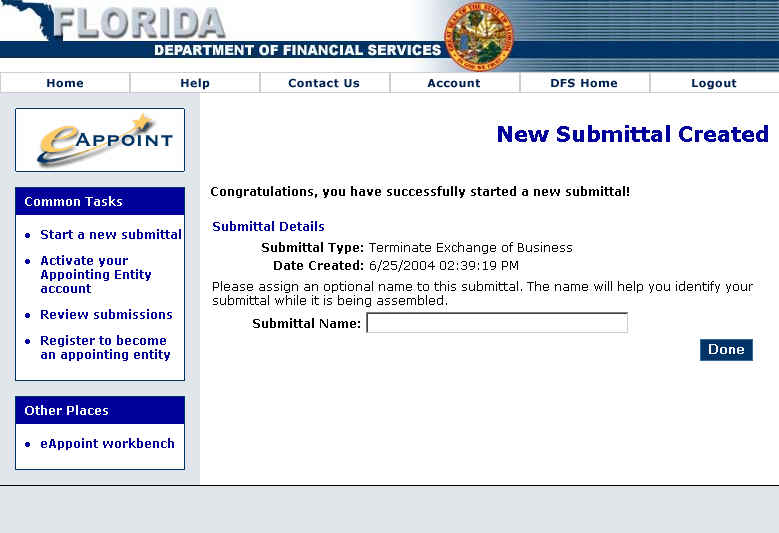
Exchange of Business TerminationsIf you select "Exchange of Business Terminations", eAppoint creates the submittal and displays the screen shown below. Using the fields provided, you should create a name and a password for the submittal you have just begun.
| ||||||||||||
|
|