What is a Third Party?A Third Party Administrator, for the purposes of eAppoint, is considered one of the following:
| ||||||||||||||||||||||||
Accessing the Maintain Third Party Accounts Screen
| ||||||||||||||||||||||||
Adding a Third Party Account
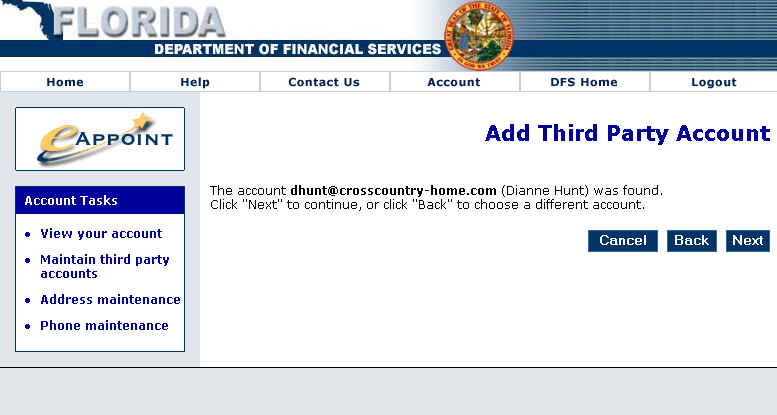
If eAppoint finds that the email address you have entered corresponds to a valid I-Portal account, it will display the screen below to verify that is has found the appropriate entity. If eAppoint cannot find the email address you have submitted you will need to contact the Third Party regarding his or her I-Portal account. If he or she does not have an I-Portal account, one can be created. For more information about creating an I-Portal account, click here.
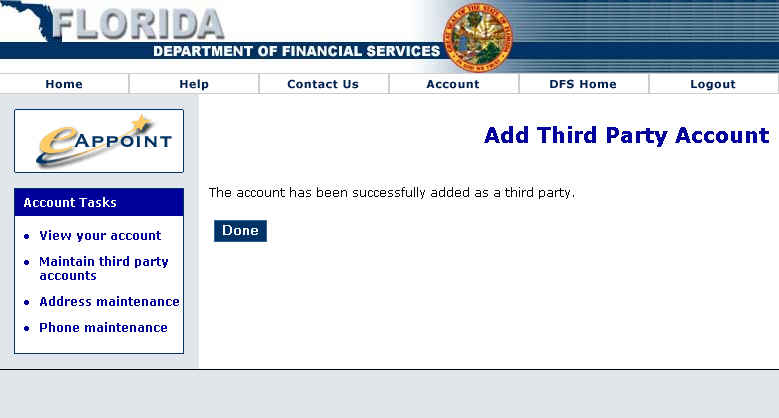
eAppoint provides the screen below for you to indicate which privileges the new Third Party should have. This screen also provides a text box for you to provide an Account Nickname for the Third Party. Clicking within the boxes to the left of each permission will add a check to the box. A checkmark in the box beside a permission indicates the Third Party has the authority to perform that task on your behalf. Clicking within the box a second time will remove the checkmark you have added.
| ||||||||||||||||||||||||
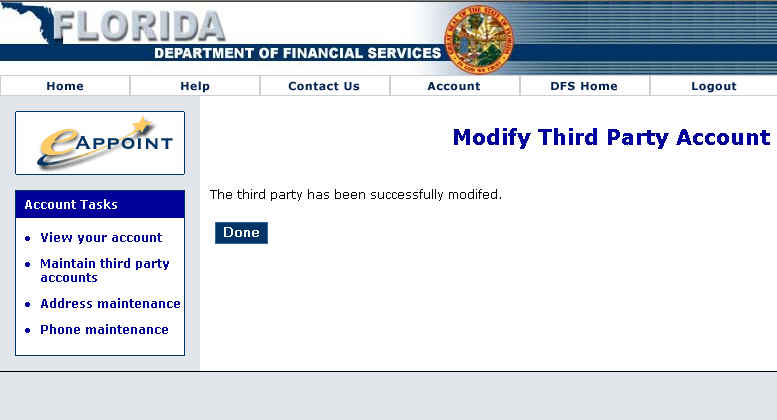
Modifying a Third Party Account
| ||||||||||||||||||||||||
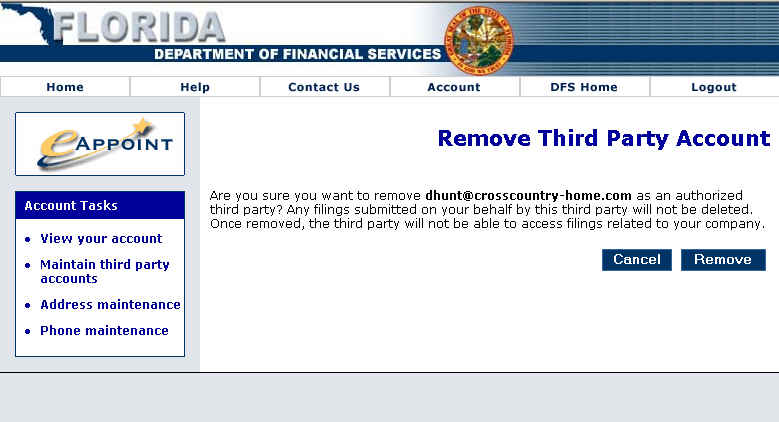
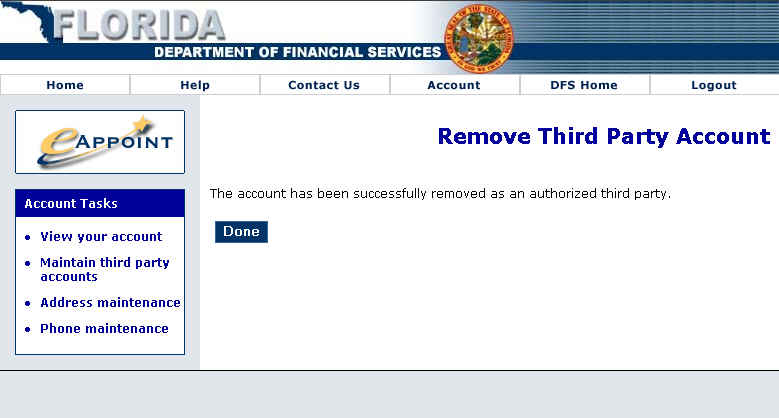
Removing a Third Party Account
|
 Clicking the
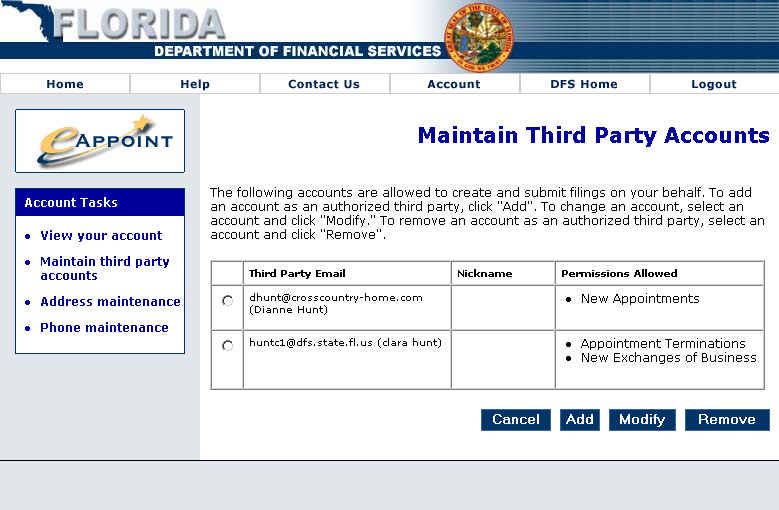


 To begin modifying a Third
Party Account, you must first select the account you wish to modify. Clicking
within the circle beside a Third Party Account will select the account.
To begin modifying a Third
Party Account, you must first select the account you wish to modify. Clicking
within the circle beside a Third Party Account will select the account.